How to Grow Weed Plants?
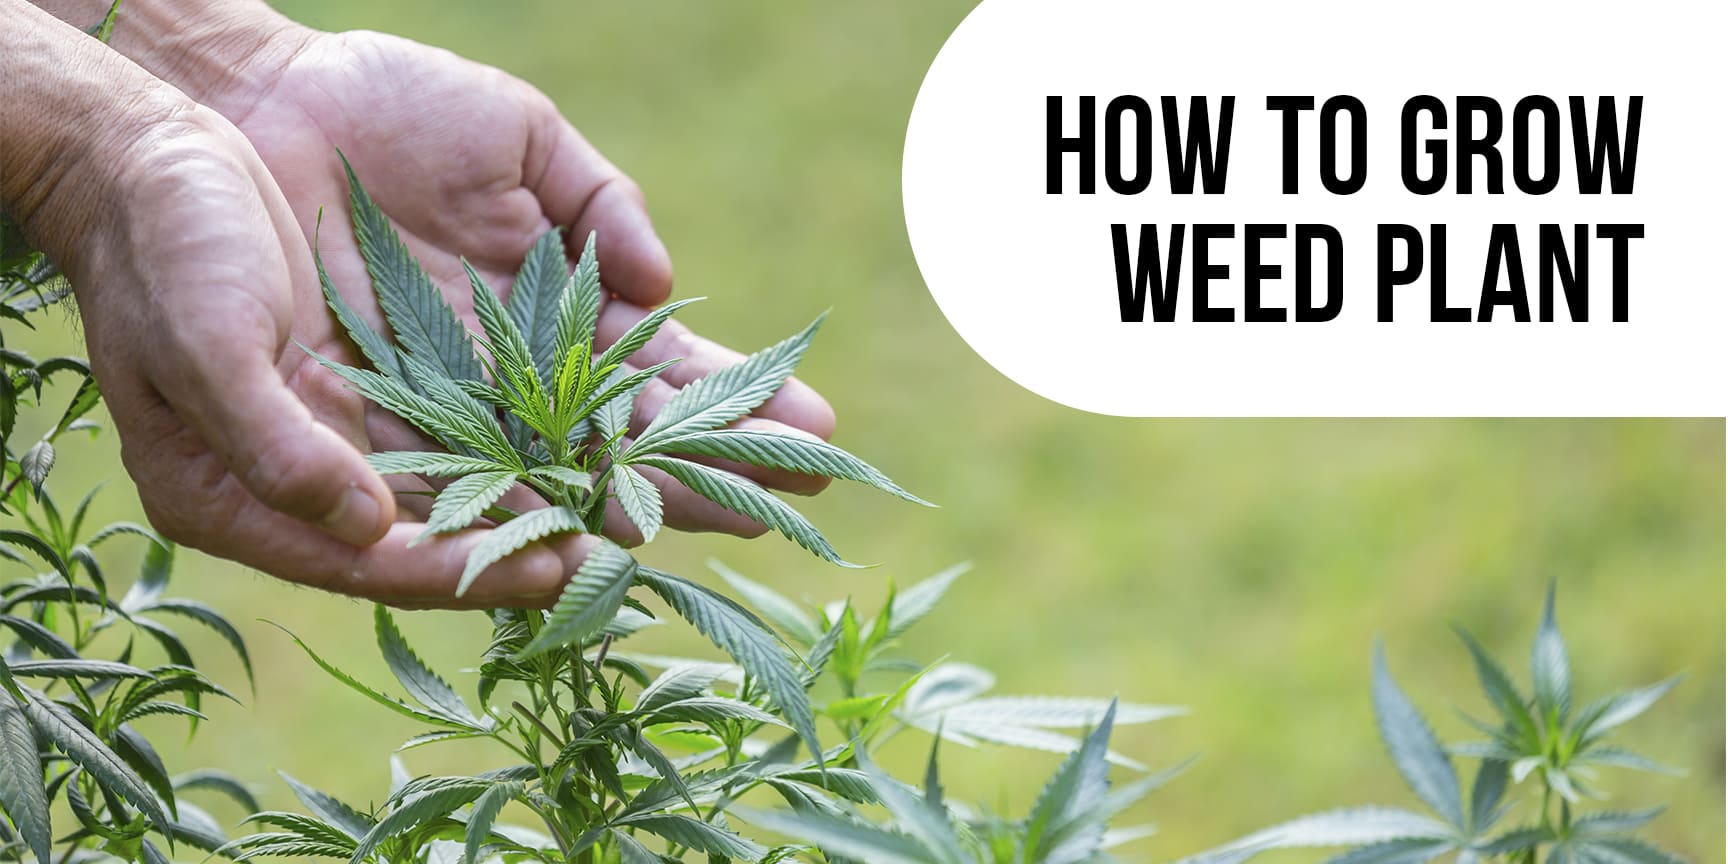
If you want to grow weed plants, be ready to a rewarding and fulfilling experience. Whether you’re a beginner or have some gardening experience, understanding the key steps involved in cultivating cannabis is essential.
From creating the optimal growing environment to nurturing the plants through different stages of growth. And after all harvesting, drying, and curing the buds, each step plays a crucial role in achieving successful results.
Step 1: Create the optimal growing environment
Prior to delving into the genetics of a preferred cannabis strain, it is crucial to ensure that one’s apartment is conducive to cannabis cultivation. There are five primary aspects to take into account: space availability, temperature regulation, humidity levels, water pH, and adequate lighting conditions.
Try Infused Joints from our catalog.
Space
Growers reccomend a minimum requirement of 3 x 3 x 5 feet of space for cannabis cultivation.
In this regard, closets serve as advantageous options for growers as they assist in managing light pollution during the flowering stage, making them a preferred choice over larger spaces like living rooms.
Temperature

Similar to humans, plants thrive within specific temperature ranges. During the vegetative stage, weed plants prefer to grow comfortable in temperatures ranging from approximately 68 to 77 degrees Fahrenheit.
When transitioning to the flowering stage, temperatures of around 65 to 85 degrees Fahrenheit are favorable for cannabis plants. While they can tolerate lower or higher temperatures, indoor cultivation allows for heat control, enabling growers to provide optimal conditions that promote maximum growth and potency.
Relative humidity
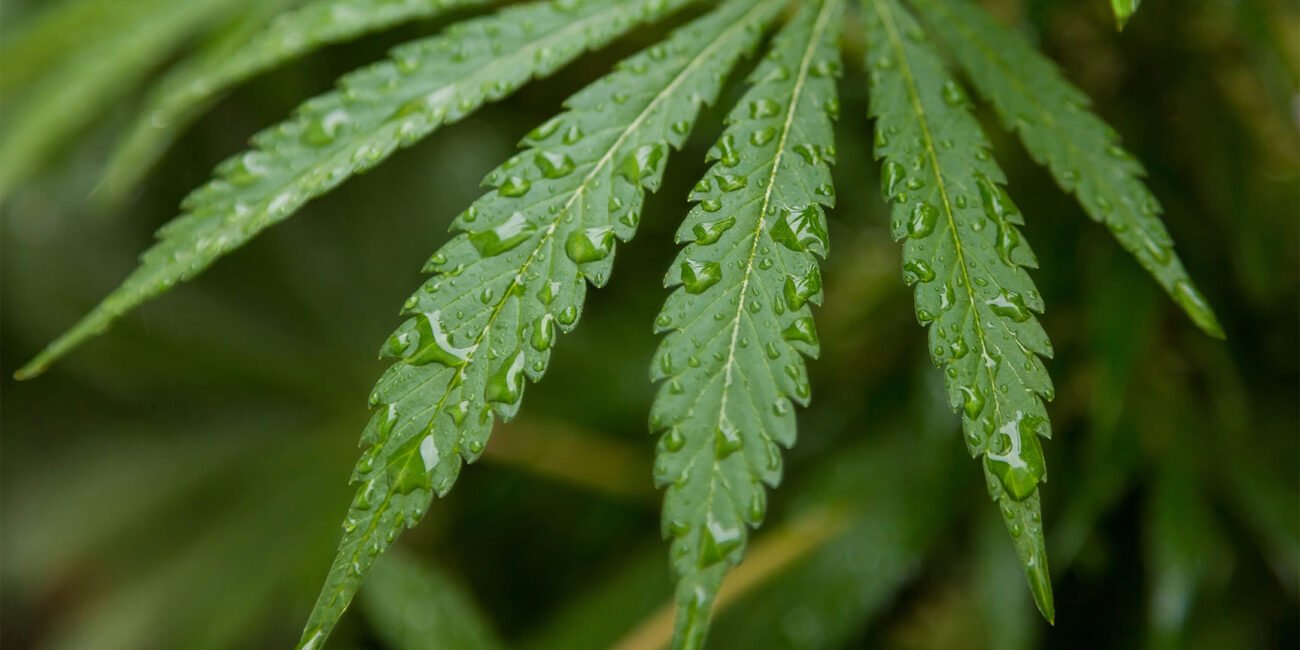
Pot plants typically thrive within a relative humidity range of 40% to 70%, varying according to their growth stage. Excessive humidity can create a conducive environment for diseases, molds, and fungus, while overly dry conditions can hinder the growth of cannabis plants.
To monitor humidity levels in your grow room, employing a hygrometer is recommended. Additionally, utilizing humidifiers, dehumidifiers, and watering systems can aid in achieving the desired humidity balance.
One can make adjustments to the entrance of the grow room, taking into consideration external conditions, in order to maintain an optimal humidity level.
pH of Water
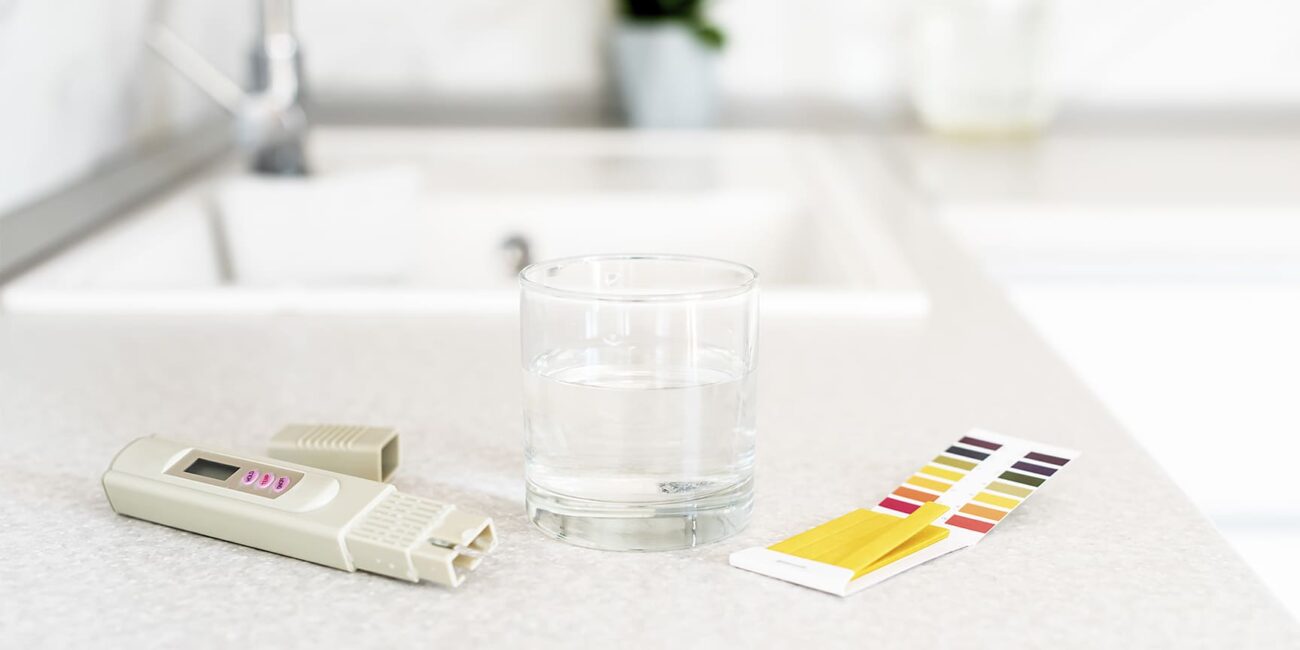
The pH scale indicates acidity when values are below 7.0, while values above 7.0 indicate alkalinity. Deionized water possesses a neutral pH of 7.0. It’s important to note that the pH scale operates logarithmically, meaning even small pH changes hold significant implications.
For instance, a pH level of 4.0 is ten times more acidic than a pH level of 5.0. In the context of plants, pH is crucial as it influences the availability of nutrients in the growing medium.
Cannabis, similar to many plants, thrives in slightly acidic soil conditions. While it can tolerate a pH range of 5.0-7.0 without exhibiting symptoms such as bronzing or interveinal chlorosis (yellowing of top leaves), growth will be limited if pH levels fall outside the optimal range of 5.8-6.2.
To maintain ideal pH levels, cultivators should regularly test pH every two days and make necessary adjustments accordingly.
Light
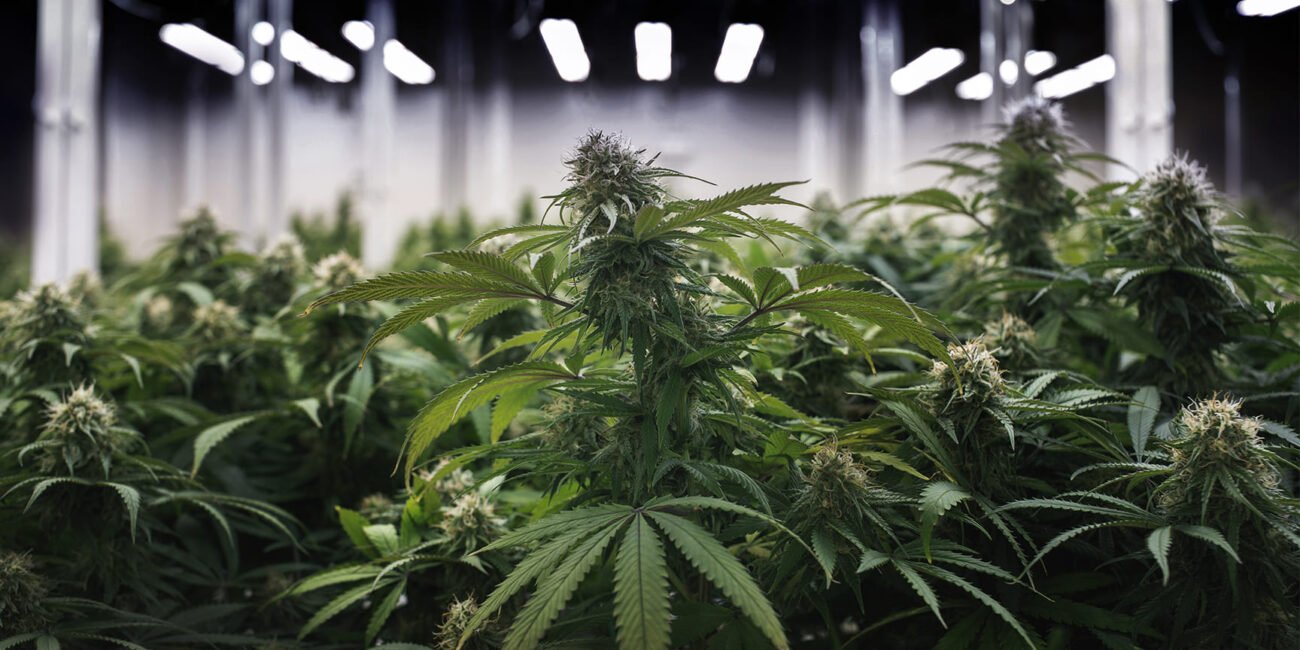
It is important to note that cannabis plants require varying amounts of light during different phases, particularly for indoor growers, as outdoor cultivation relies on natural lighting.
Specifically, during the vegetative stage, providing 18 hours of light per day is necessary before transitioning to a 12-hour lighting cycle to initiate the flowering stage.
Ensuring a tight lighting system is essential as light leakage during dark periods can disrupt the plant’s growth stages, potentially leading to stage reversion or the production of male buds.
To achieve the desired lighting conditions, different types of cannabis grow lights can be utilized. Many growers prefer high-intensity discharge (HID) lights are commonly, although they are less energy-efficient.
HID lights come in two major types: metal halide (MH) and high-pressure sodium (HPS). MH lights emit a bluish-white light that is particularly beneficial during the vegetative stage, while HPS lights emit a reddish-orange light that is advantageous for the flowering stage.
It is important to accompany HID lighting setups with reflectors/hoods and ballasts (one for each bulb)
Step 2: Nurture and grow plants to maturity
The vegetative stage of cannabis is a critical period when the plant experiences significant growth, typically spanning 3-16 weeks. During this stage, the plant is usually transplanted into a larger pot. Then both the roots and foliage undergo rapid development.
It is also an opportune time to initiate topping or training techniques to shape the plant’s growth.
As the plant matures, it is important to adjust watering practices accordingly. Initially, watering should be focused near the stalk when the plant is young. However, as the roots expand outward, it is beneficial to water further away from the stalk, allowing the roots to stretch and efficiently absorb water.
For optimal growth, providing the vegetative plants with nutrient-rich soil is essential. A high level of nitrogen is particularly beneficial during this stage, ensuring the plants receive the necessary nutrients for healthy development.
Check it out
Kool Aid [Sativa Dominant] — Double Blunt
Medusa [Sativa Dominant] — 7 infused prerolls
Step 3: Initiate the flowering phase
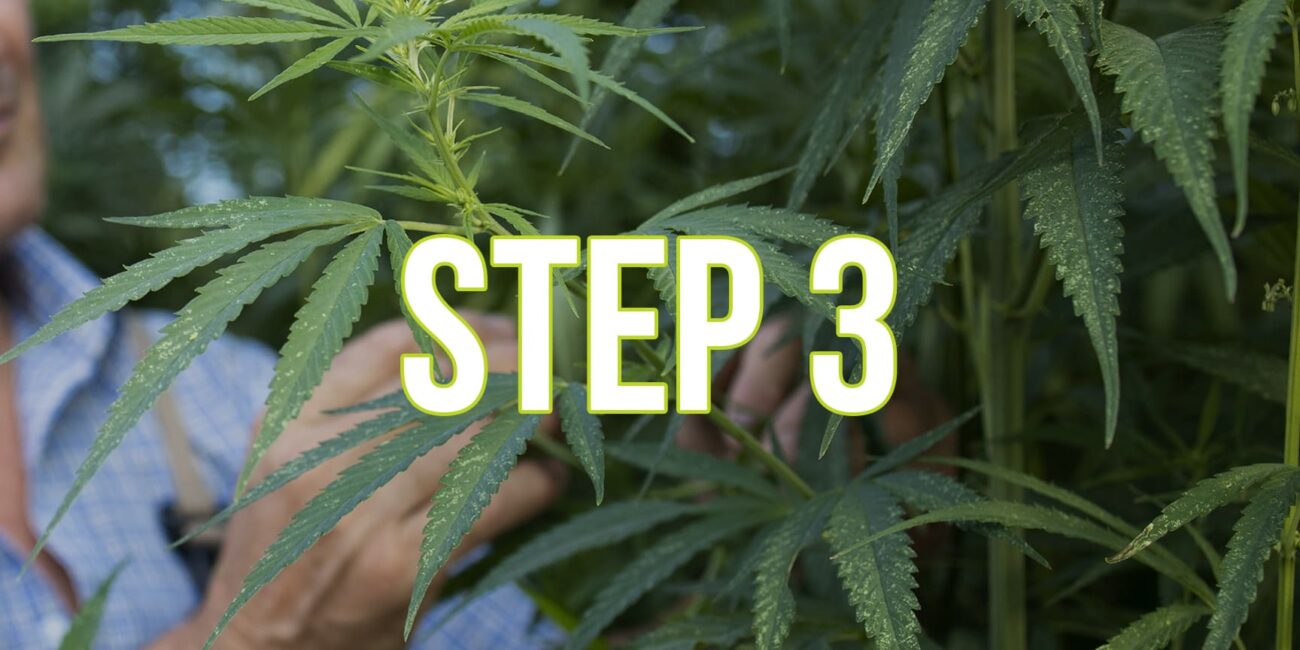
During the flowering stage, weed plants undergo the final phase of growth, rewarding cultivators’ efforts with the development of resinous buds. While most strains typically flower within 8-9 weeks, some sativas may have longer flowering periods.
In outdoor settings, flowering occurs naturally as the plant receives reduced daylight hours transitioning from summer to fall.
Indoor growers can induce the flowering cycle by adjusting the light duration from 18 hours to 12 hours per day for marijuana plants.
Growers devide flowering stage into three subphases:
- Flower initiation (weeks 1-3): During this period, the plant continues to grow, and female plants develop pre-flowers characterized by the emergence of pistils or white hairs, indicating the onset of bud formation.
- Mid-flowering (weeks 4-5): Growth of the plant itself slows down, and the buds begin to fatten up.
- Late flowering/ripening (week 6 and onwards): Trichome density increases, and the plants become sticky. Monitoring the color of the pistils becomes crucial for determining the optimal harvest time.
Several considerations come into play when transitioning from the vegetative to the flowering stage:
- Avoid pruning plants during the flowering stage as it can disrupt their hormonal balance.
- Provide support to the plants through trellising or scrogging techniques to assist in proper bud development and ensure adequate airflow.
- Consider incorporating bloom or phosphorus-based nutrients into the plant’s feeding regimen
Step 4 : Harvesting and drying process
After months your weed plants were grow from sprouts or clones, it’s time for the highly anticipated harvest. However, it’s essential to remember that harvesting cannabis involves more than simply cutting down the plants and trimming the buds. Proper drying and curing are necessary.
There are two primary methods of harvesting: wet trimming and dry trimming. Wet trimming involves cutting down the plant, removing buds from the branches (known as “bucking”), trimming them immediately, and then proceeding with the drying process.
On the other hand, dry trimming involves cutting down the plant and allowing it to dry for a period of several days. Once fully dried, growers remove buds from the branches and trimmed.
Before proceeding with the harvest, there are a few key steps to consider:
- Flush plants: About a week before harvesting, it is advisable to flush the plants with plain water to remove any excess nutrients or chemicals.
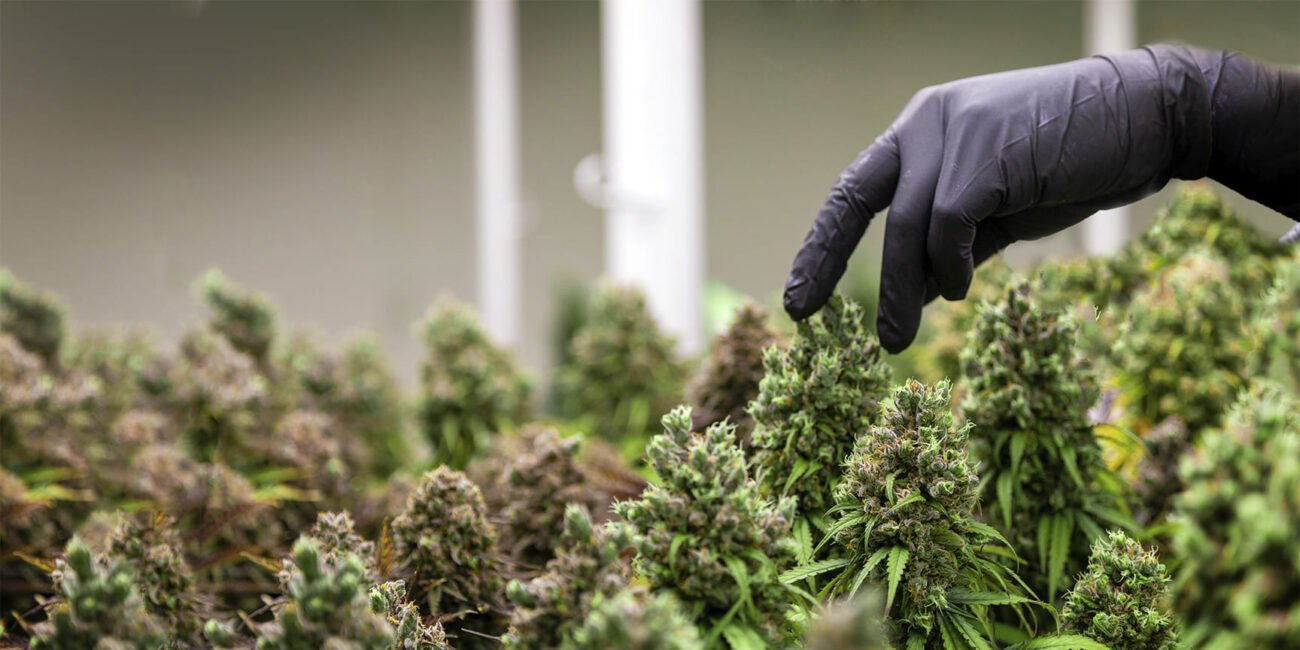
- Determine the harvest time: Assessing the trichome color is crucial in determining the optimal time for harvest. Trichomes are the tiny, crystal-like structures on the buds that contain cannabinoids.
The ideal time to harvest depends on the desired effects and strain, with trichomes transitioning from clear to milky or amber indicating different levels of cannabinoid maturity. - Choose wet or dry trimming: Decide whether you will opt for wet trimming or dry trimming based on personal preference and available resources.
- Prepare equipment: Gather the necessary equipment for the chosen trimming method, such as sharp trimming scissors or shears, gloves, and containers for drying and curing.
- Harvest the plants: Cut down the plants carefully, ensuring to handle them gently to avoid damaging the buds.
- Dry and trim the plants: Depending on the chosen method, either proceed with wet trimming immediately after harvest or hang the plants to dry for several days before trimming the fully dried buds.
After harvesting weed plants, proper drying and curing processes are crucial to preserve and enhance the flavor. Also you have to retain terpenes and cannabinoids, and eliminate the vegetal taste while reducing chlorophyll content.
The drying process involves the initial drying of buds, typically done in a well-ventilated area. During this stage, freshly harvested plants can lose up to 75% of their weight due to moisture loss. During this time, people trim off sticks, stems, branches, and leaves.
Dry trimming involves drying the buds before trimming, while wet trimming follows the opposite order. During dry trimming, growers typically hang buds upside down on lines or hangers, either as whole plants or individual branches.
It will help to prevent flattening or misshaping during the drying process. In wet trimming, growers placed trimmed buds on drying racks.
It is important to find the right balance during drying, as it should not be too quick or too prolonged. If drying occurs too quickly, the outer layer of buds may appear dry while the insides remain moist. Conversely, if drying takes too long, there is a risk of mold development.
The drying process generally lasts between 2 to 7 days, with wet trimming usually requiring a shorter duration due to the removal of most plant material prior to drying.
Once the buds or branches have dried, they are placed in airtight containers for the curing stage. This prevents further moisture loss, preserves flavors and aromas, and allows the buds to develop their full potential. Curing typically takes several weeks to a few months, depending on personal preference.
To determine if buds are fully dry, a simple test can be conducted by bending a branch or stem after approximately two days of drying. If the stem snaps, it indicates that the buds are dry. The stem should be allowed to bend without snapping, and additional drying time is required before checking again the following day.
If you want to grow weed plants, it will require careful attention to various factors. Such as creating an optimal growing environment, nurturing the plants through different growth stages, and etc.
By providing suitable space, temperature regulation, humidity levels, water pH, and adequate lighting conditions, growers can create an environment conducive to cannabis cultivation.
Monitoring how weed plants grow, adjusting watering practices, and providing nutrient-rich soil during the vegetative stage contribute to healthy development. Transitioning to the flowering phase requires adjusting lighting cycles and supporting proper bud development.
Harvesting involves careful timing, followed by the essential steps of drying and curing to preserve flavors and enhance potency. These processes, when executed correctly, result in high-quality cannabis that can be enjoyed responsibly.
Remember to approach cannabis cultivation within the legal frameworks of your jurisdiction.
You can also read our articles “Ditch Weed vs. Cultivated Cannabis” or “A guide to cannabis deficiencies”


